Online Registration Instructions
See Frequently Asked Questions about Registration
1
Log In to My Cardinal Connect
To register for classes navigate over to your student portal, My Cardinal Connect, and get logged in with your Cardinal ID and password combination.
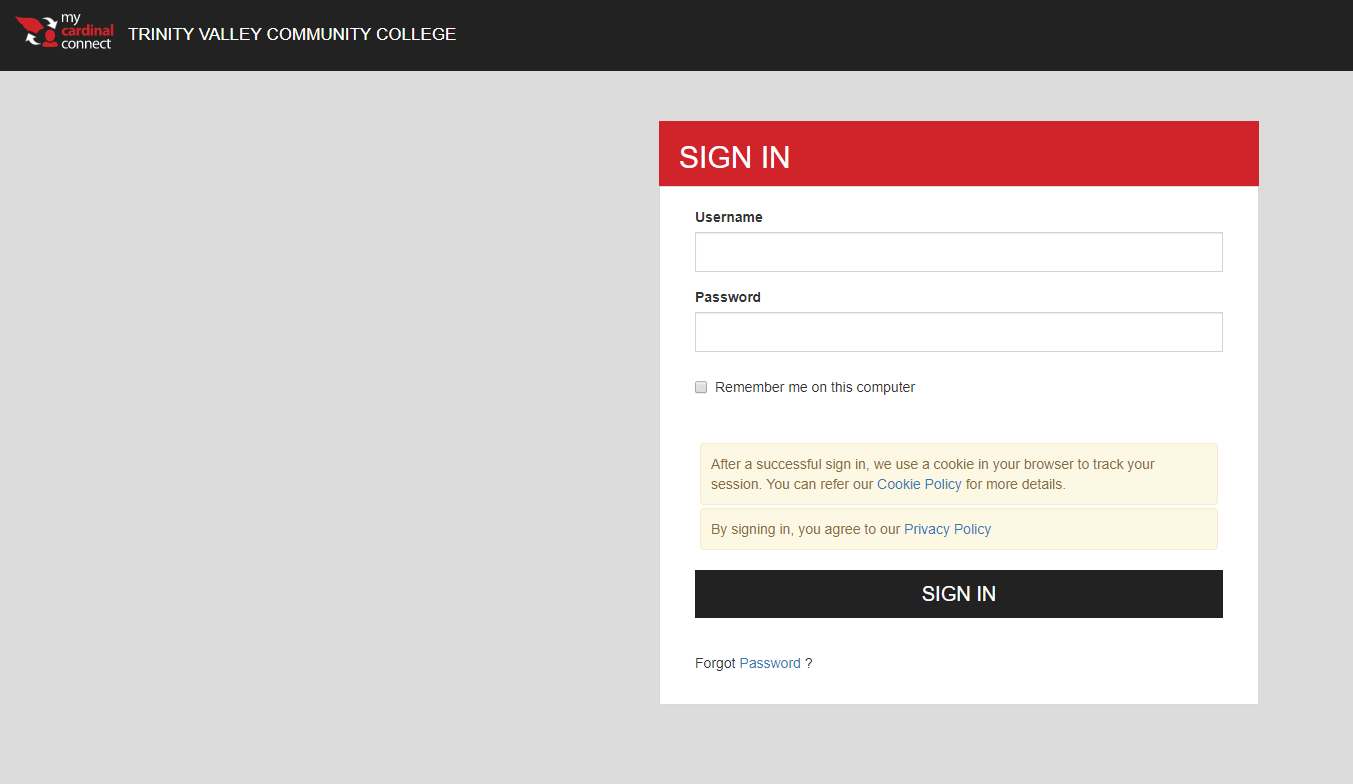
Login credentials are:
-
User name – Cardinal ID. Find your Cardinal ID here.
-
Password – Unless you have previously changed your master password through your Cardinal Email, your default password is: lowercase first initial + last four digits of social security number + uppercase last initial + 4 digit year of birth (Jane Doe born in 1998 with social security number ending in 1234 and would generate password of j1234D1998)
2
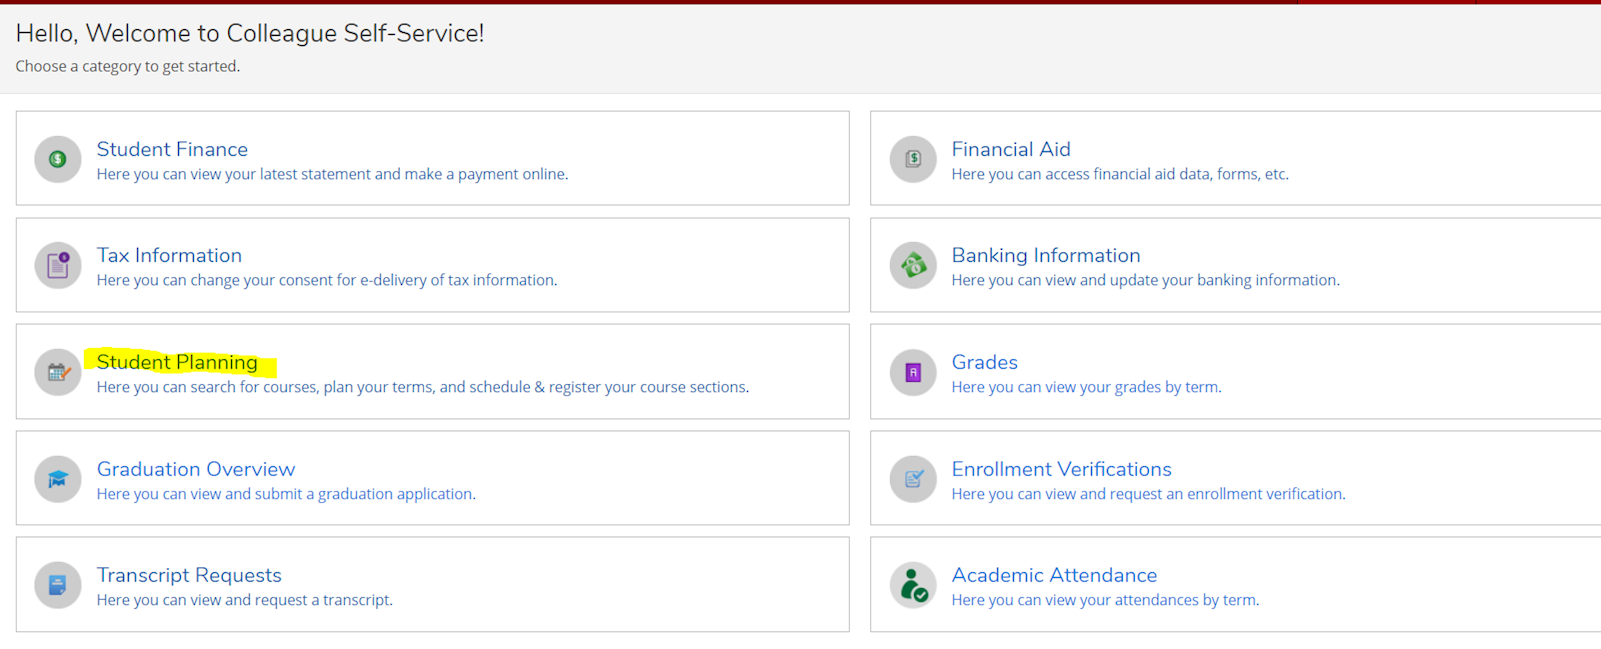
Select "Student Planning" from the main menu
Student Planning will be where you are able to register for courses online. You can also view your general progress towards graduation here.
3
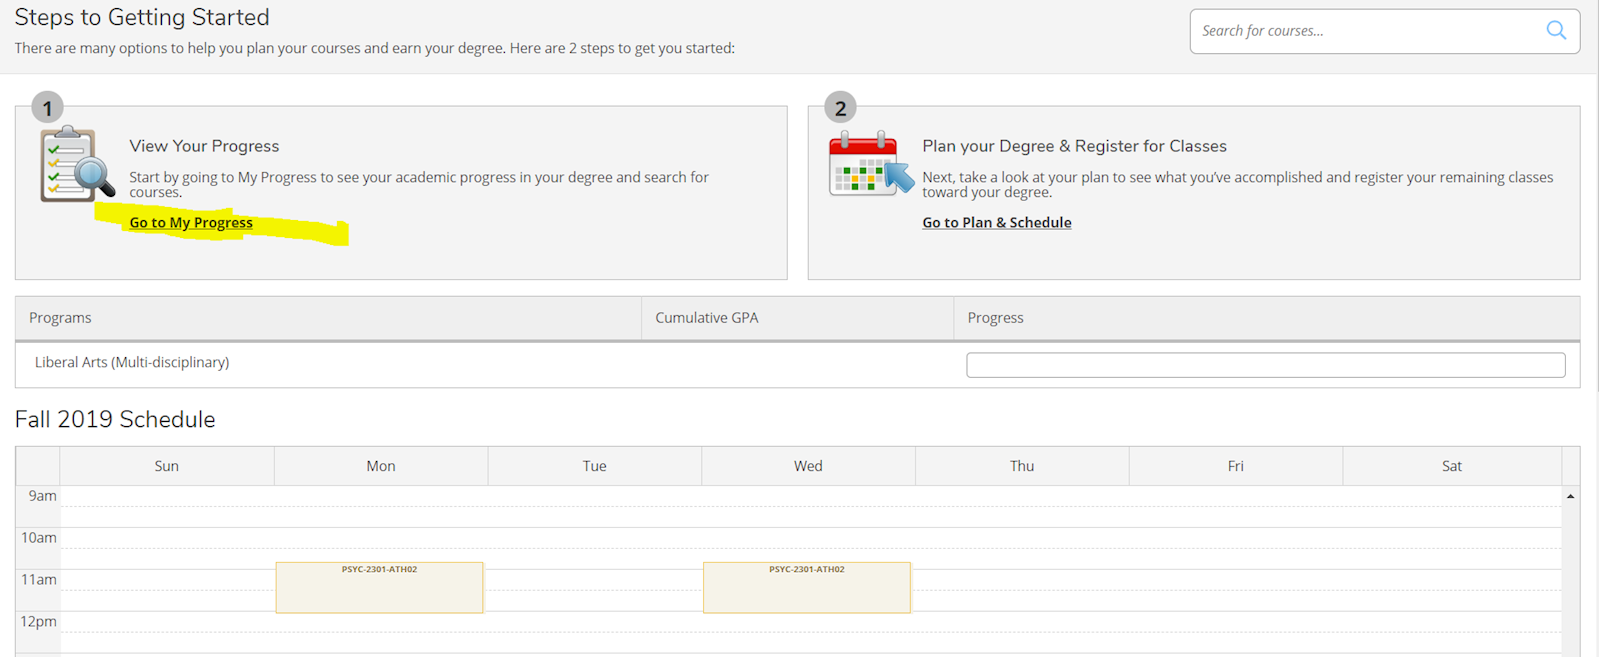
Select "Go to My Progress"
From the Student Planning menu, select the option to "Go to My Progress" under "View Your Progress" at the left. This will take you to your degree pathway information as well as what courses are left incompleted towards your degree. Please be aware that at this time, your full progress may not yet be fully loaded into My Cardinal Connect; the merger of previously completed courses will be complete in October, 2019. If you are unsure about what to register for, you may visit with an advisor or print an unofficial transcript through the old student portal, Cardinal Connection, if you are a returning student.
4
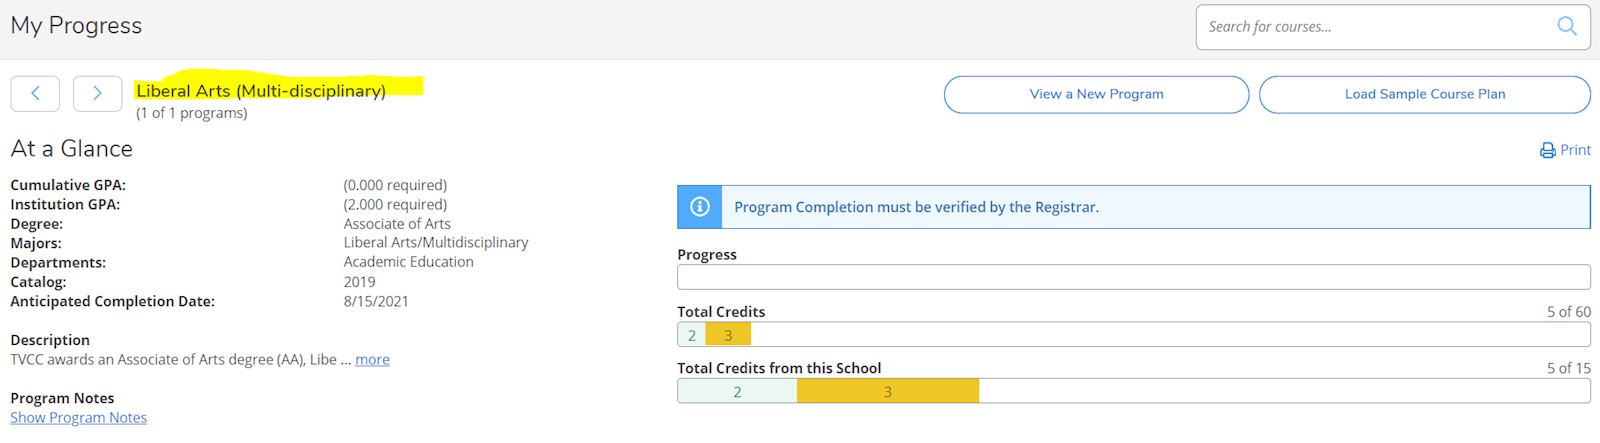
Confirm your degree plan
Be sure to check that the degree listed above the "At a Glance" section is correct. Please be aware that portions of information under this section are still under construction through October, 2019, and may not be accurately reflected here at this time, such as your GPA.
5
Plan your courses
While still on the "My Progress" page, scroll down and select a course listed in your requirements for which you plan to register by clicking on the course.
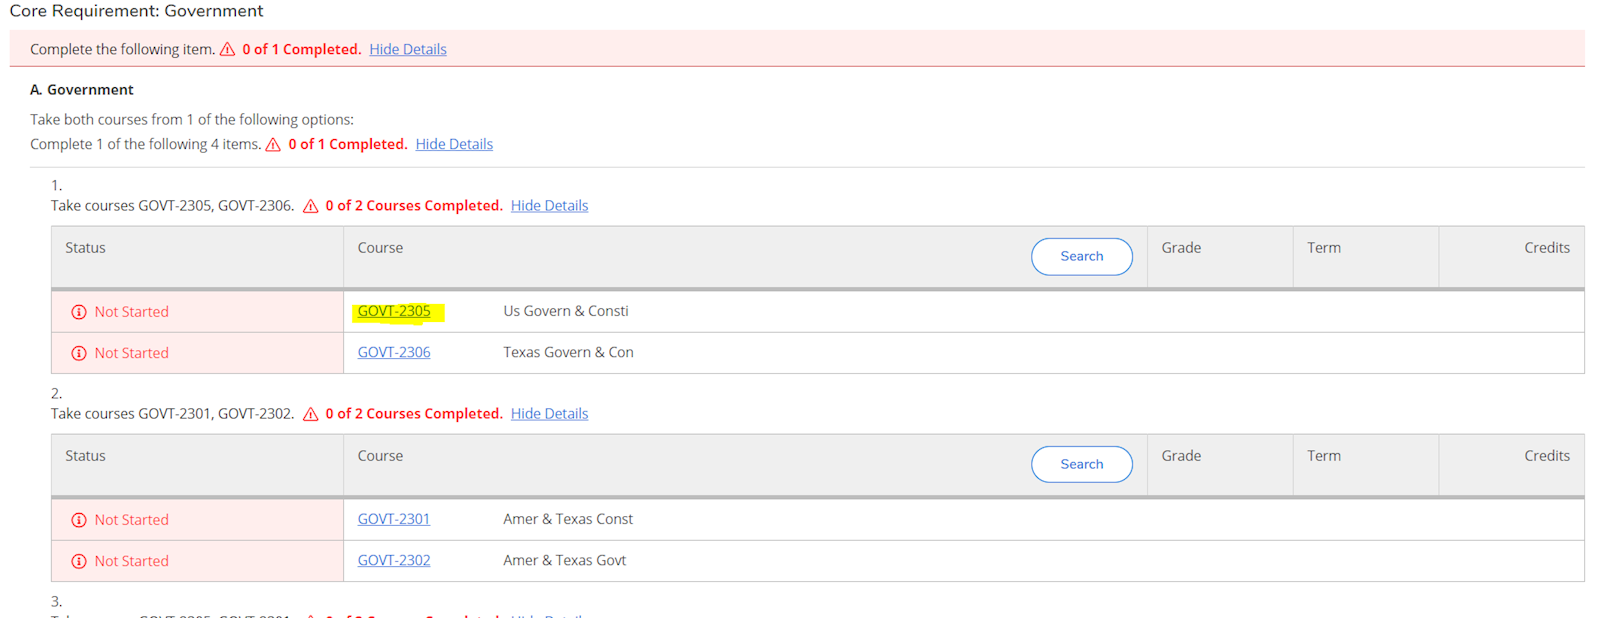
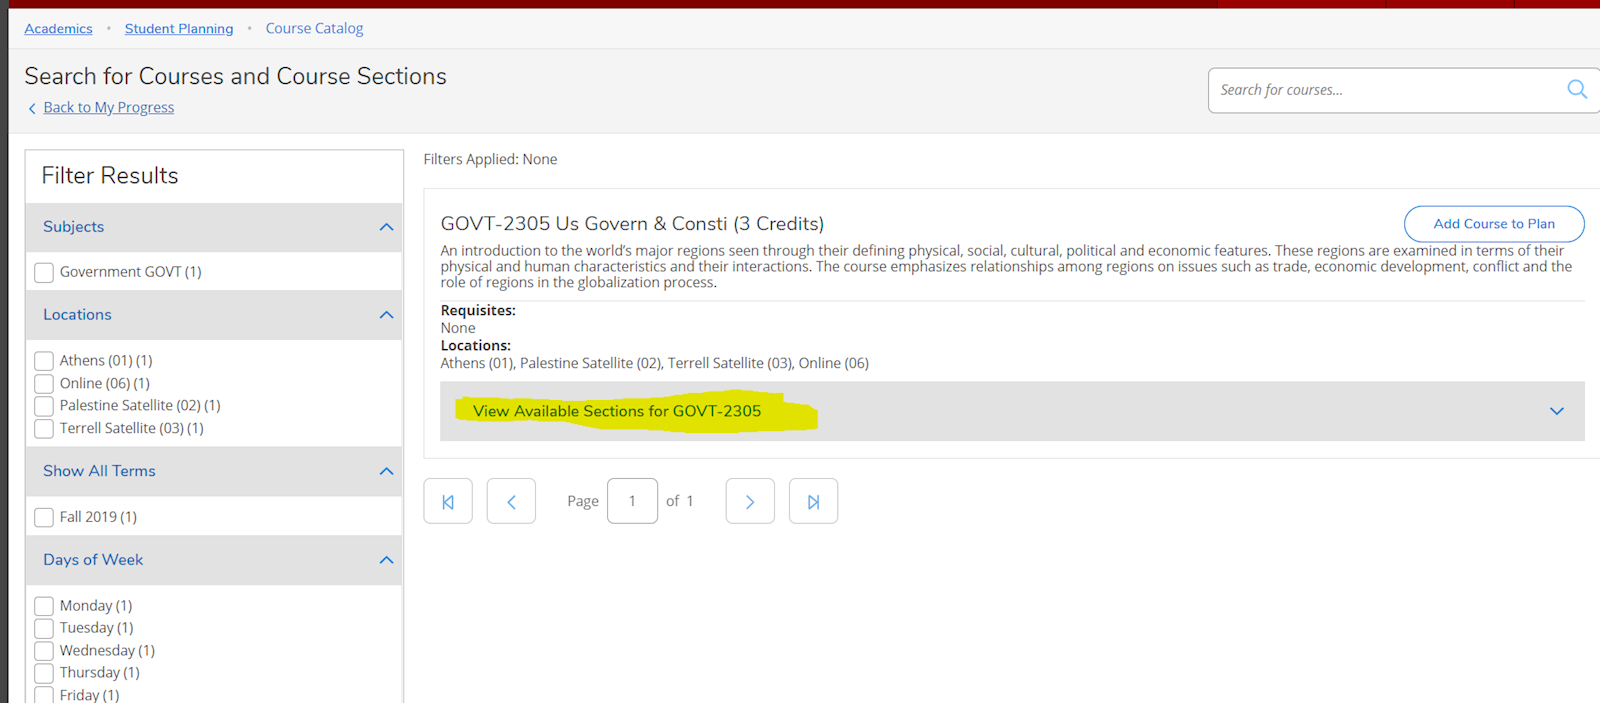
Once clicked, you will see an overview of the course. Select "View Available Sections for (course name & number)" below the course description to view the section options you have for that course. You can use the filter to the left to narrow your search results if you prefer.
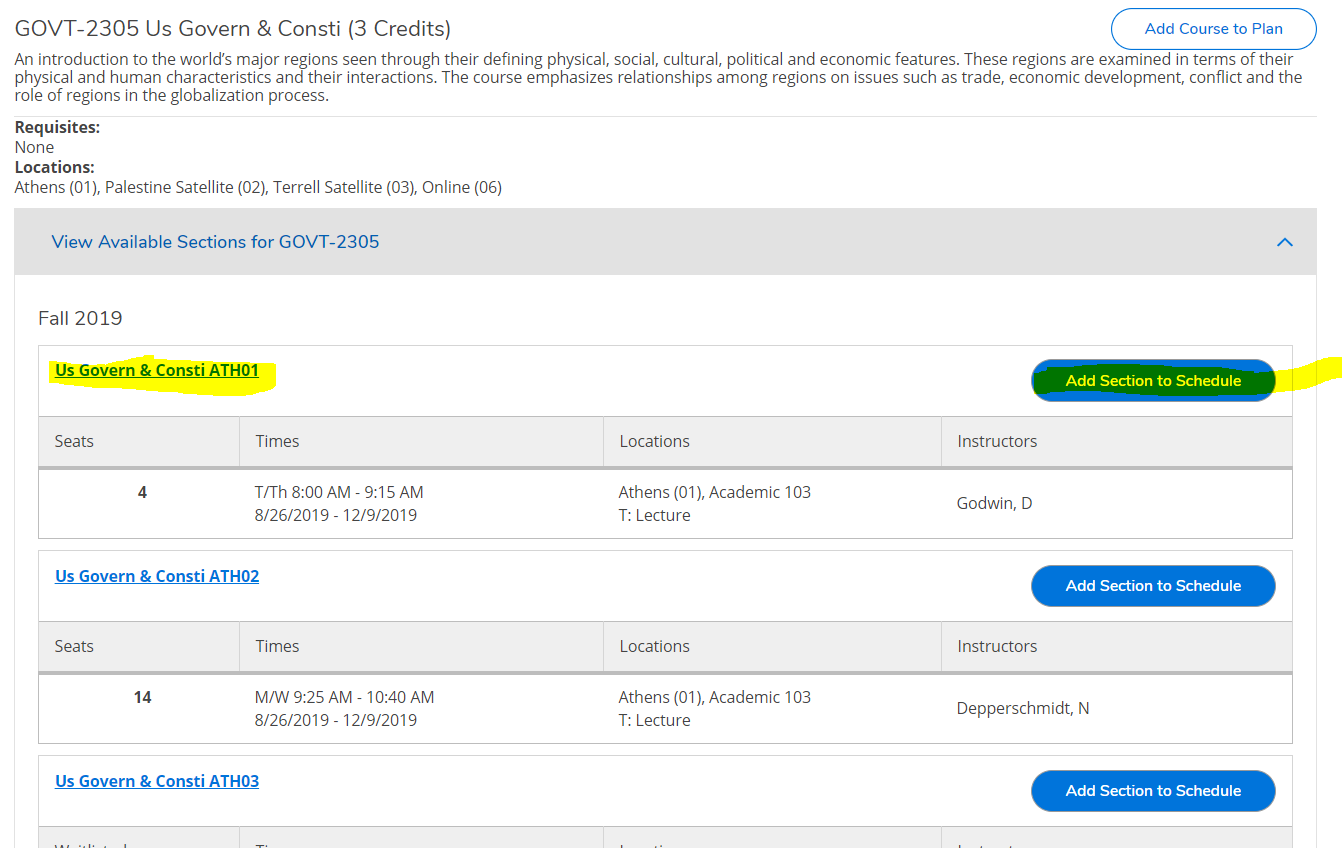
!!! Be sure to double check the dates on each section number; TVCC often has multiple semester registrations open simultaneously and you want to be sure you are registering for the appropriate semester.
Peruse the available sections and find which one fits your schedule best. Once you have decided which section is your best fit, select the option to "Add Section to Schedule" to add this course to your planned schedule.
A pop-up window will appear so that you can review the section details. If you wish to proceed with the current selected section, choose "Add Section" at the bottom. Also, this i where you can take advantage of a new feature available through your student portal. TVCC now has the ability to "waitlist" students for a course that may be filled. You can select to be waitlisted for a course if it is filled, and if any seats become available you will be notified through your TVCC Cardinal Email, as well being alerted within the portal. Students have 24 hours to claim an open seat before the next person on the waitlist will be notified.

Repeat the above process for each course you wish to enroll in. Please note that courses added in this manner are planned, not registered; that step will come later.
6
Review your planned schedule
Once you have added as many courses as you want on your schedule, it is time to navigate back over to the main Student Planning menu. This time, select the option on the right under "Plan your Degree & Register for Classes" to "Go to Plan & Schedule."
.PNG)
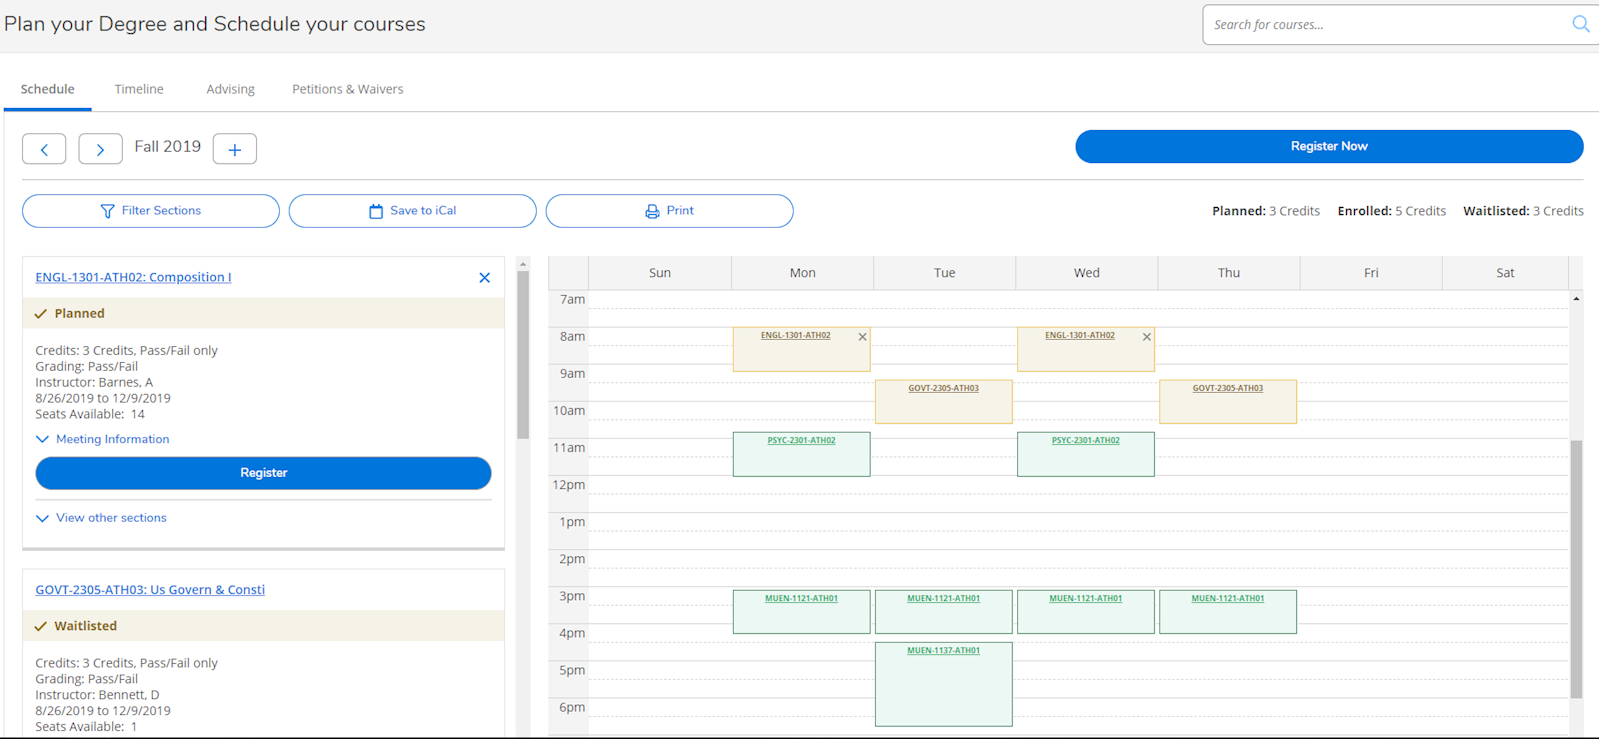
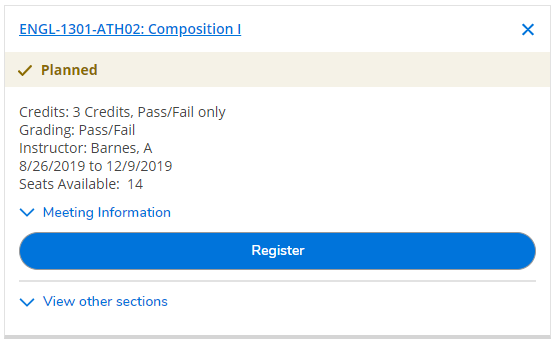
The next screen will show you your interactive online student planner, and out to the left will list your planned courses that you have selected for registration. You may notice that they are currently denoted as "Planned" and are labeled in tan. Review these courses to be sure that they are the schedule you want.
7
Complete registration
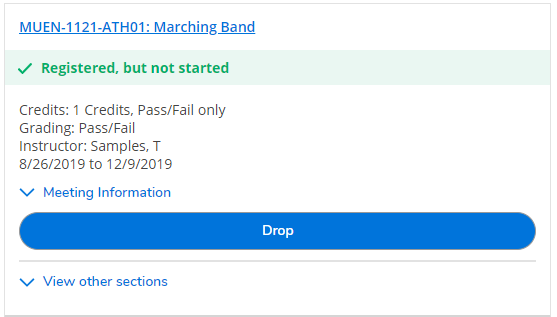
At this time, we want to move past the planning stage and complete our course registration. You can select the "Register Now" button in the top right to complete this process (as seen in image above). Review your course list to the left once more and be sure that they now denote "Registered, but not started" and are labeled in green.
You can also click the register button on each individual section to register for them singularly. This can help when you make any schedule changes or adjustments within your portal.
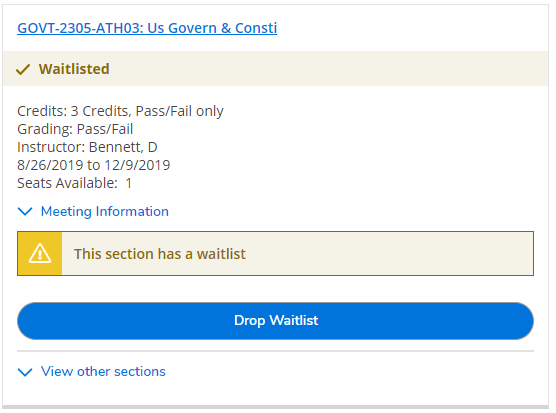
Waitlisted courses that you add to your schedule will appear as "Waitlisted" and remain labeled tan.
If you are unsure if registration has occurred, you can check towards the top just above your planner where it will list the amount of credit hours for which you are planned, enrolled, and waitlisted. This information is located just below the "Register Now" button.
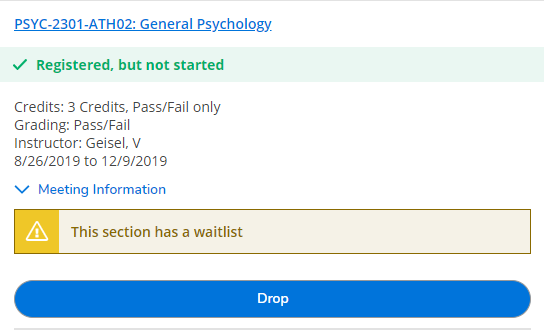
Please be aware that registered courses notify you if they reach waitlist capacity. This is in the event that you want to make any changes to your schedule. It is advised, when making changes, not to remove courses until you have added the replacement course already. Once a waitlisted course is removed from your schedule - your seat in the course is gone. For instance, dropping the below course, and then changing your mind would result in having to be added at the bottom of the waitlist for the course.
!!!! Please be sure to double-check your schedule. The following statuses may be misleading:
PLANNED - If your scheduled courses say "Planned" and are labeled in tan, you will need to hit the "Register Now" button to complete your registration. If the button is not available, you are ineligible for online registration and will need to Meet with an Advisor to have your courses approved.
REGISTERED, but not Started - You are successfully registered for classes. Be sure to arrange payment by the tuition due date to avoid be dropped from your courses for non-payment.
WAITLISTED - You are currently on the waitlist for the course(s). If a spot becomes available you will be automatically registered for the course, and notified via your Cardinal Email account.
4
You have now registered for classes
You have the option to print a copy of your completed schedule up above the course list and calendar.
Be sure to review the tuition due date, and be sure to arrange payment by this time. Student not paid in full buy the tuition due date will be dropped from their courses. Due to the waitlisting feature we now provide, students can not be guaranteed their original schedule should they be dropped for non-payment and need to re-enroll. Directions for how to pay through your Student Portal can be found here.
Your student portal will not provide you with a list of textbooks. Students must proceed to the bookstore webpage to find their appropriate materials by course and section. Directions on locating your booklist can be found here.